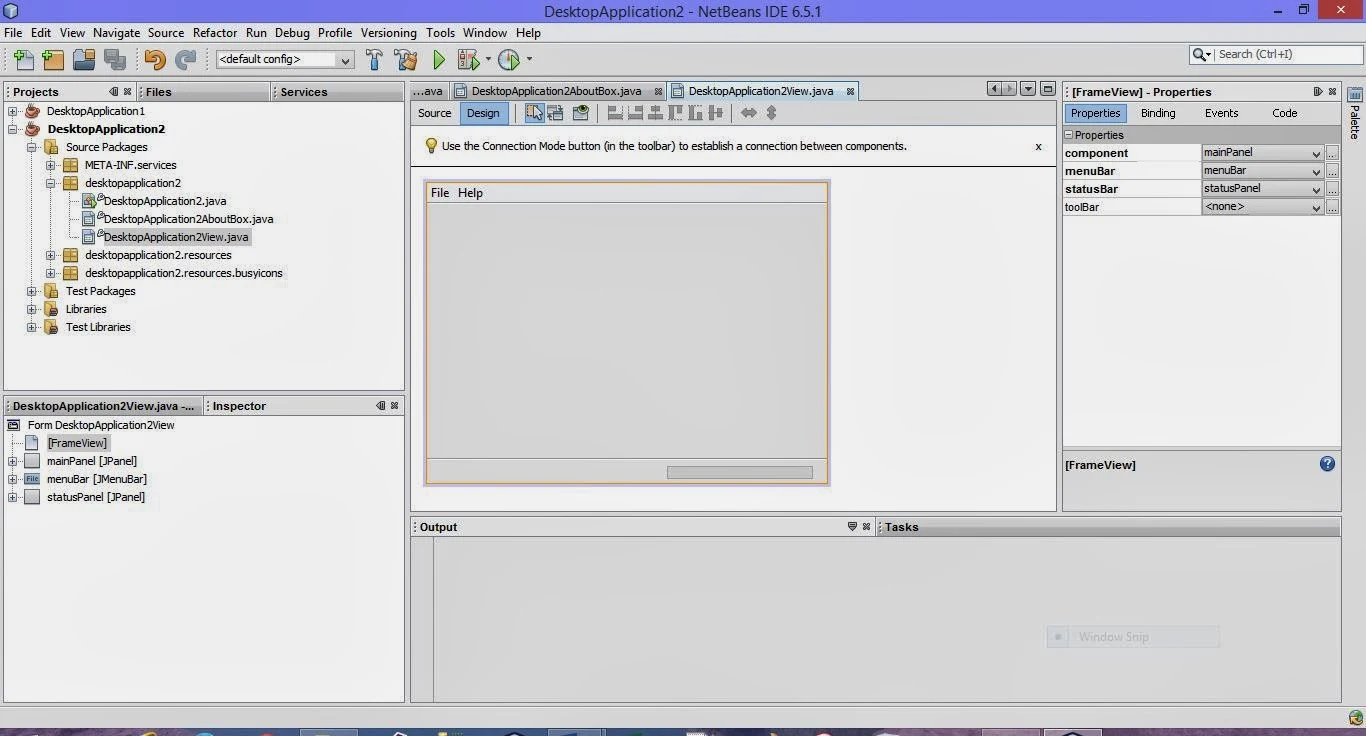
A NetBeans IDE project is a group of Java source files plus its associated Meta data, including project-specific files. A Java application may consist of one or more projects. All Java development in the IDE takes place with in projects, we first need to create a new project within which to store sources and other project files.
To create a new GUI application project:
This is newly added frame is the top level container of your application. Now in the Design View of this frame, you can add desired components from the Swing Controls under Palette and work further.
To create a new GUI application project:
- Click File → New Project command. Alternately. You can click the New Project icon in the IDE toolbar or press Ctrl + Shift + N.
- In the Categories pane, select the Java node and in the projects pane, choose the Java Desktop Application and then Click Next.
- Enter desired name in the Project Name field and specify the project location.
- Leave the Use Dedicated Folder for storing Libraries checkbox unselected. (If you are using IDE 6.0, this option ids not available.)
- Ensure that the Set as Main Project checkbox is selected.
- Finally click Finish button.
Now the NetBeans IDE will create the project folder on your system in the designated location. This folder contains all of the project’s associated files. - Next, you need to first add a frame window to your project where you can add desired components and functionally.
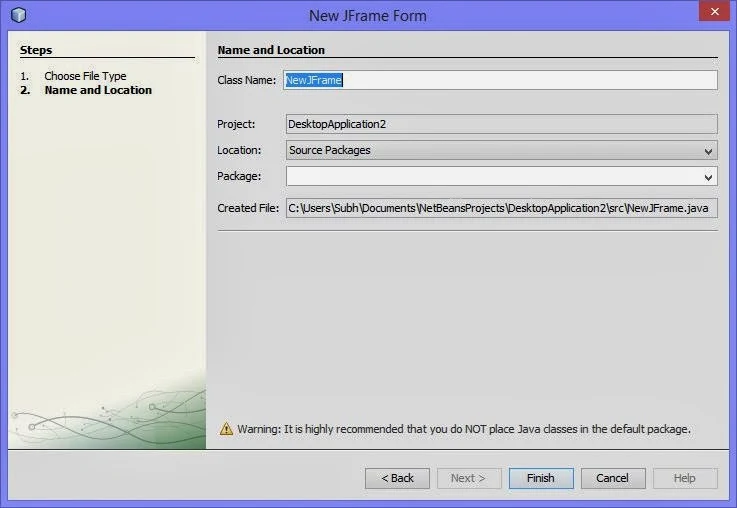
For this, on the top left pane, under Projects Tab, right click on your project’s name and select New. From the submenu, select JFrame Form. A new Frame dialog box will open as shown:
- In this dialog box, specify the name of the frame being added in the box next to Class Name and click Finish.
This is newly added frame is the top level container of your application. Now in the Design View of this frame, you can add desired components from the Swing Controls under Palette and work further.


