Introduction
Login contol provide some privilege to the project or you can say its a entry point of the project. Though this form we can move to the next form. If your input text is valid then move to the next but if your input is wrong then move failed. So, the main function of the project is check each entry of the table with the TextBox.
Design login control in windows form
- Add Two TextBox with the label control.
- Add one button control with click event , Look like
Add EDMX file with the help of following steps:
- Add ADO.NET Entity Data Model by the add new item component.
- Now, select EF designer from database in the entity data model wizard.
- Now create the connection by pressing the 'new connection' button , also select the check box where your connection string save into your application configuration file. Now, press to next button.
- Select entity framework version , i select 5.0 in the project.
- Select table, views , stored procedure in the appeared window.
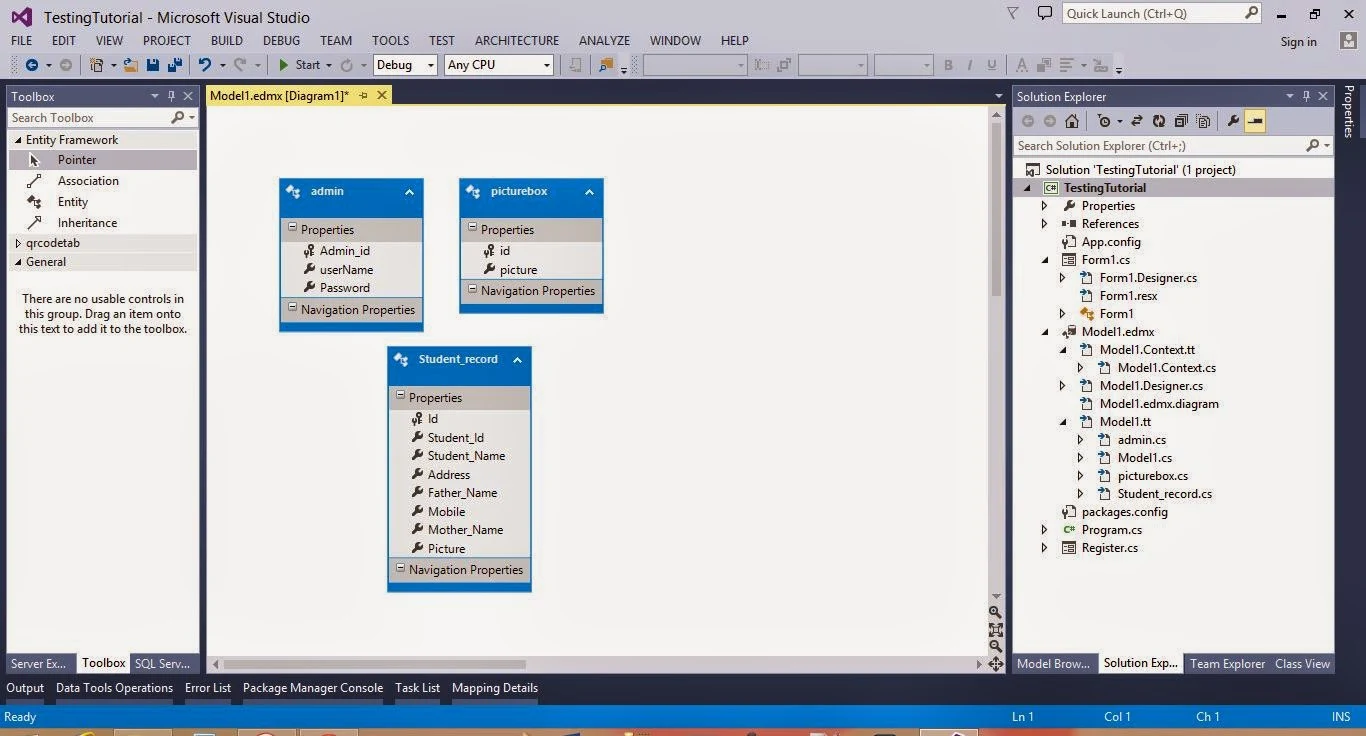
- Now, your model look like
Copy and paste the below code inside the button click event.
private void button1_Click(object sender, EventArgs e)
{
Student_DBEntities dc = new Student_DBEntities();
if (usrBox.Text != string.Empty && pwdBox.Text != string.Empty)
{
var existuser = dc.admins.FirstOrDefault(a => a.userName.Equals(usrBox.Text));
if(existuser!=null)
{
if (existuser.Password.Equals(pwdBox.Text))
MessageBox.Show("Login Sucess");
else
MessageBox.Show("try again later");
}
}
}
Here,
- Student_DBEntities is a DataContext , which is take connection string in the constructor. Also take public property of the model class, through this we can access all the data from database table.
- admins is the public property of data context class.
Code generate the following output - please see the video:


