In this tutorial, you learn how to
- Before you start
- Create a new project
- Hello World Output
Before you start...
- To complete this tutorial, you need Windows 8.1 and Visual Studio 2013. To download them
- You also need a developer license. For instructions, see Get a developer license.
Create a new project in Visual Studio
Step-1 : Launch Visual Studio 2013.Step-2 : Select File > New Project.
Step-3 : In the left pane, expand Installed > Templates, then expand Visual Basic or Visual C# and pick the Windows Store template type.
Step-4 : In the center pane, select the Blank App template.
Step-5 : In the Name text box, enter name according you.
Step-6 : Click OK to create the project.
<Page
x:Class="App3.MainPage"
xmlns="http://schemas.microsoft.com/winfx/2006/xaml/presentation"
xmlns:x="http://schemas.microsoft.com/winfx/2006/xaml"
xmlns:local="using:App3"
xmlns:d="http://schemas.microsoft.com/expression/blend/2008"
xmlns:mc="http://schemas.openxmlformats.org/markup-compatibility/2006"
mc:Ignorable="d">
<Grid Background="{ThemeResource ApplicationPageBackgroundThemeBrush}">
<TextBlock Text="Hello World" FontSize="100" />
</Grid>
</Page>
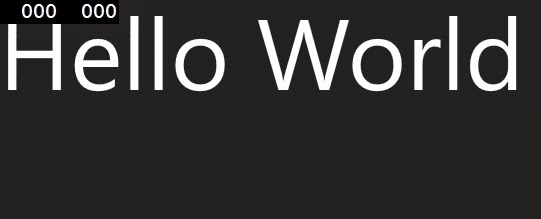
if you run the application at this point, you should see a nice "Hello World" message. If you're running the default themes, it will be white text on a black background.

